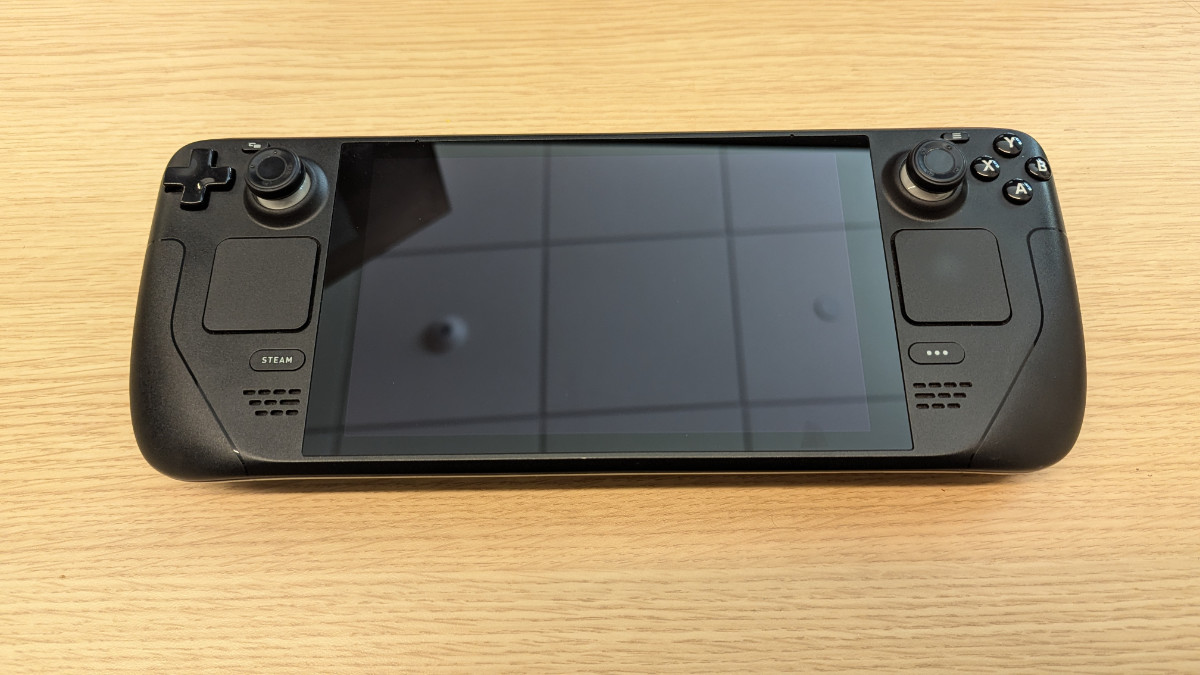
The Steam Deck launhed in 2022. It was sold as a hand held gaming device but it was actually a small linux computer with a ton of buttons and a built in screen.
I saw it in person when a buddy of mine got one and I was immediately sold. I bought one for myself and have been using it ever since. My nintendo switch turned into a zelda machine while the Steam Deck did every other game.
But of course using it for so many years yielded a few broken buttons and a hunger for upgrades. Which is why I made this webpage. Most upgrades and repairs are simple but there's one I want to post that when it happened to me, no one online was there to help.
- Upgrade NVMe/SSD to 1TB - Replace L1/R1 Trigger Buttons - Replace L2/R2 Trigger Buttons
If you want to save some money but still have a 1TB Steam Deck, you can easily upgrade the NVMe yourself. I've done it 3 times now and it's a pretty simple process.
You can either install a fresh SteamOS which is the simpler option or clone your existing drive onto the new one, which is a tiny bit more complicated and requires an extra piece of equipment.
You will need:
If you plan on doing the clone you will also need an external drive equal or larger than the drive in your current Steam Deck (256GB drive in steam deck would require a +256GB external drive).
Download and install (or grab the portable) Rufus, this will let us burn an ISO onto a USB/Micro SD.
Download an ISO of Clonezilla. The site is filled with spam, so try not to fall for it.
Plug in your USB/Micro SD into your machine and open Rufus, select the drive, select the Clonezilla ISO, and say yes to the default windows that pop up before burning. Double check your burning to the right drive! Once it's done burning the iso eject the USB/Micro SD.
We now have Clonezilla ready to rock and roll!

The L1 trigger is unique in that the tiny button it presses has bent backwards destroying it's connection to the board. The cost to replace the whole board was around $200 which is $100 less than what I paid. There's no way I'm going to repair my broken button for that price.
So crawling around the internet hoping to find a used replacement board or a how to guide, yielded no results. Until now!
This was not an easy repair, but it was doable and for someone like me with no tiny solder experience it was possible.
You will need:
If you do not have the above parts I recommend finding someone who does or buying your own. Do not proceed without them. I was lucky enough to have a friend with a fine tip solder iron, and my work had a fancy multimeter. I already owned my ifixit kit as well as some solder supplies for my arduino projects.
Now that have everything let's disassemble the deck.
!!! - If you use an MicroSD card, remove it before disassembly - !!!
Ifixit it recommends having the battery below 25% but the many times I've repalced or fix the Steam deck, this has never been the case for me. I simply unscrew the back plate screws, 4 are long (outter), and 4 are short (inner). Then use a spudge tool to unhook the security locks and pull the back plate off.
Once the back plate is off, unscrew the protective aluminum cover for the battery connector to expose the battery cable. There are 3 tiny screws that hold the cover and 1 is under the tiny sticky aluminum tab. Once the cover is off, you can unplug the battery cable.
Now we move over to the side that has the broken button. Before unscrewing anything on the daughter board we want to unclip the cables that connect to this daughter board, use that plastic pointy stick to unclip the locks, then slide the cables out.There are 4 screws that hold in the first daughter board. Unscrew them and pull the board out.
Next is the Bumper, this we need to pop off by using a plastic pointy stick to unclip side lock, wedge it between the bumper clip and what it's attached to to pop it off. Try not to lose the spring, I had to be aggressive and was scared of breaking the plastic but found it sturdyer than I thought.
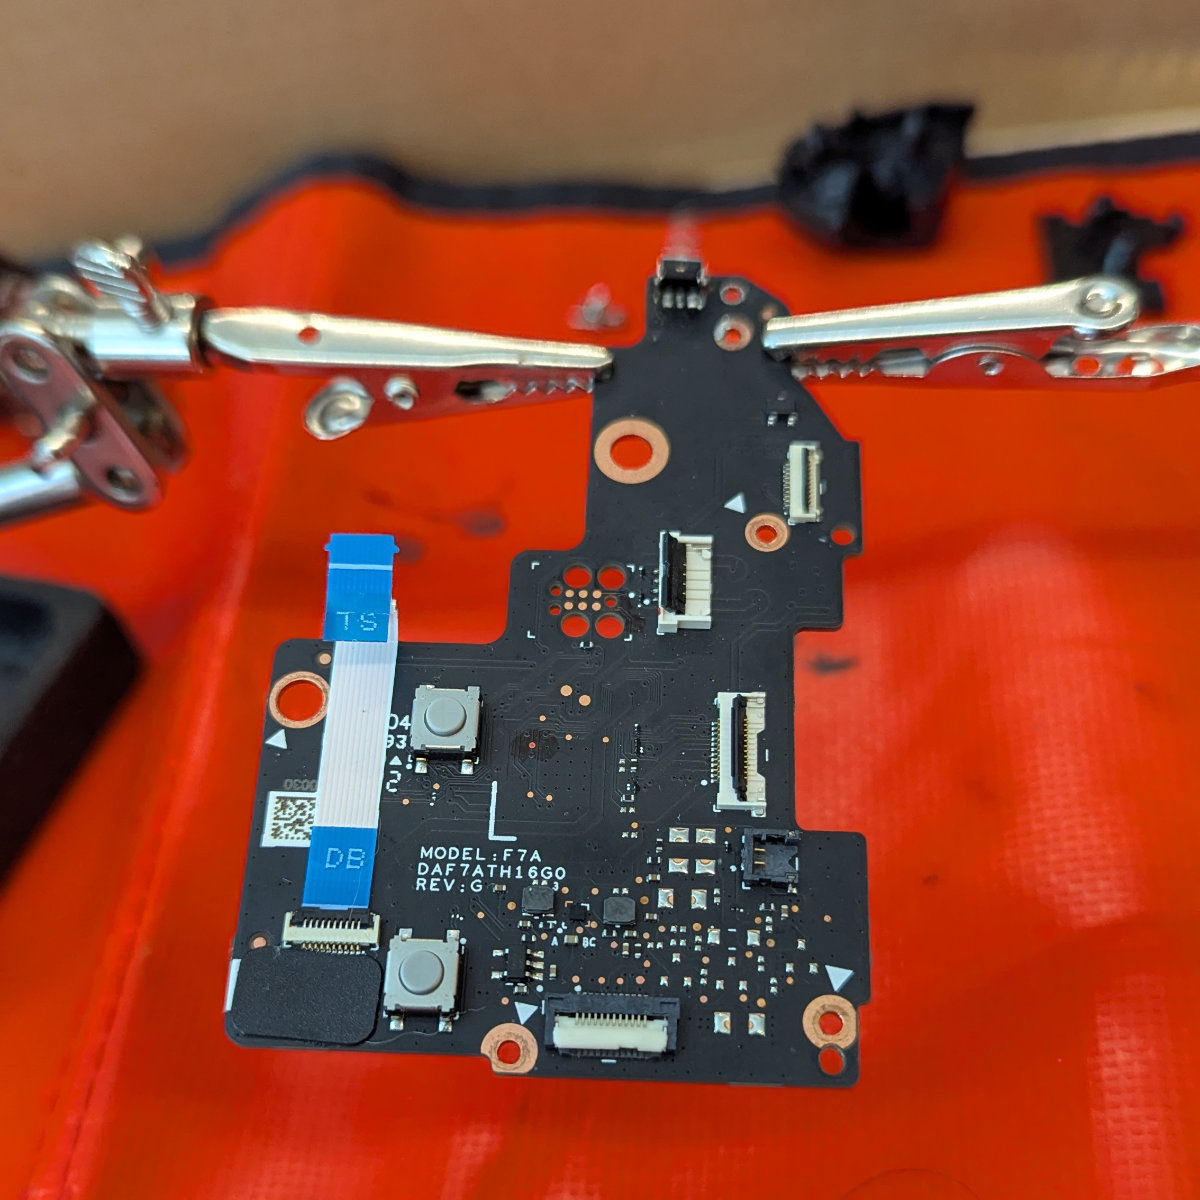
Once the bumper is off we can unscrew the 3 screws holding in the bumper pastic holder and now we can see the rest of the daughter board and our tiny broken button.
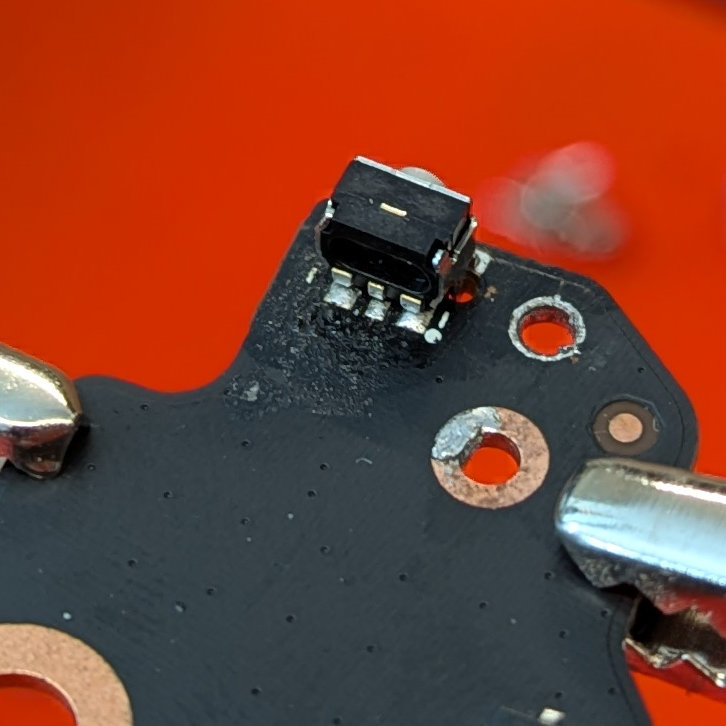
If your problem is the same as mine, this button will appear bent backwards, and feel lose. It should not look that way our appear lose. Time to solder!
At this point you should have the daughter board completely disassembled and on it's own.
Get your copper soaker net stuff and heat up those connections while rubbing the copper net back and fourth until the solder is all soaked up.
Next I just fluxed the daughter board area up as well as the connectors on the button. Luckily the button comes with 2 metal holders off on the right and left side that slide into tiny holes on the board. That well help it stay in place but it's still very easy to knock off.
I place the tiny button into the slots and try to get the board and the button pads to match. Once they are on we can very carefully try to apply solder so that it sticks to both board and button.
It took me about 15 minutes of sweaty shakey attempts but I was finally able to get them to stick. Now we just let it cool a little bit
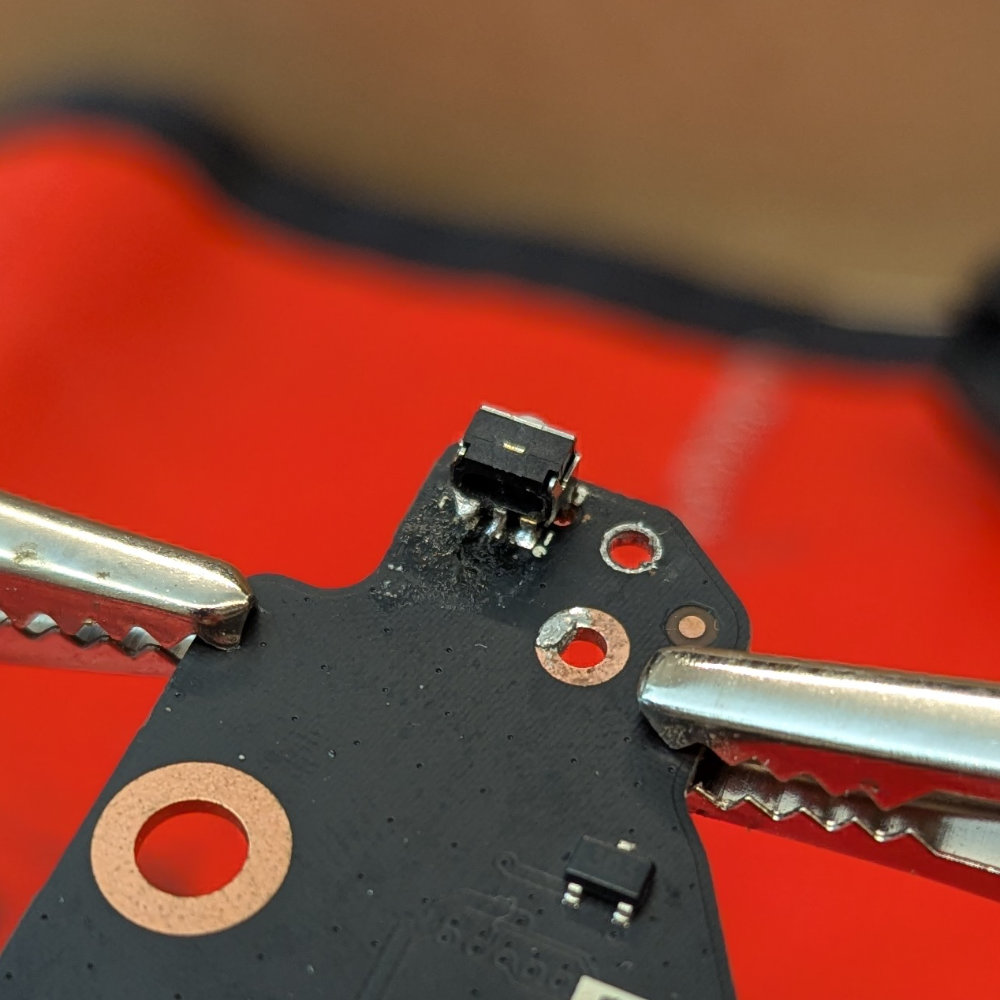
Now we need to check the connection. I used my multimeter to check the connection between the button and the board. First I placed the positive on the furthest left side and the negative on the middle. It zeroed out showing a good connection. Then I had a friend press the button and it un-zeroed showing that it stopped the connection. Then we tried the left and right and got nothing as well as middle right and nothing. My assumption is that the right side of the button is a ground.
After that we reassembled the deck working backwards and checked the connection within' the Steam Deck system and it also showed a connection.
So for a grand total of $0.56 + shipping we have a fixed Steam Deck! That's $219.44 less than a whole new daughter board replacement.

The L2/R2 trigger buttons is a pretty simple repair that just takes a little bit of time.
Parts
You will need a small philips screw driver, a plastic pointy stick, a spudger, and the replacement button which I found for about $15 bucks at ifixit.
First